Backing up your website on a regular basis is a great habit to get yourself into; whether you manage your business or company website, you’re the developer and webmaster for a client, or run your own personal blog. You never know when disaster may hit and being prepared can save you hours and even days of downtime (and potentially lost revenue) should something ever happen.
- Importance of Backing Up Your Website
- Backup Website Files in cPanel File Manager
- Backup Website Database in phpMyAdmin
- Using WordPress Plugins
1. Why is Backing Up Your Website Important?
If you have a website or online store, it’s very likely that you’ve experienced some sort of unscheduled downtime in the past. Scenarios we commonly see are caused by server downtime, having an infected or hacked website, database tables becoming corrupt or a third-party (accidentally) deleting tables, and even upgrades to themes, plugins, extensions, or modules breaking a website’s functionality.
These are a few of many scenarios that you may encounter where a backup of your website’s files or database would come in handy. If you’re using a Content Management System (CMS) there may be multiple backup plugins, extensions, or modules available to automate the backup process directly from the user interface, but to keep things simple we’re going to walk you through the steps on how to backup your website’s files and database directly inside of cPanel.
To move forward with this walkthrough, you’ll need to log into cPanel. If you forgot your cPanel login credentials, you’ll want to view the Welcome email you received after you first signed up.
2. Backup Website Files in cPanel File Manager
Now that you’re logged into cPanel, you’ll need to access your website’s files. Typically, your website’s files will reside in the public_html folder. You can access this folder by using the File Manager available to you in the cPanel interface.
Locate and click the File Manager icon under the FILES heading. A new tab will load and open up the File Manager in your browser.

By default, you’ll be taken to your cPanel account’s home directory. Don’t be alarmed or intimidated if you don’t recognize any files or folders in this directory. Do not delete anything that you are unfamiliar with since most of those files and folders are needed for your account to function properly. You should see something similar to the image below:

Click on the public_html folder. Your website’s files are located in the public_html.

Inside of the public_html you’ll see your site’s files and possibly more folders containing other important files pertaining to your website. Now click the Select All at the top to highlight/select all of the files and folders.

Next, click Compress to .zip to create a zip archive of your website’s files that you’ll be able to download locally to your computer.


Name your .zip file and click the Compress File(s) button.

A Creating Archive screen will appear. Let this run and you’ll see the Compression Results appear shortly after.

Inside of the public_html will be your newly created .zip of your website’s files. Select that file and click the Download button at the top of the page to save the .zip to your computer.

3. Backup Website Database in phpMyAdmin
The next step is to export a copy of your website’s database. Your website may or may not have a database, but in the majority of cases you probably have a database that will need to be exported as well.
Locate and click the phpMyAdmin icon under the DATABASE heading.

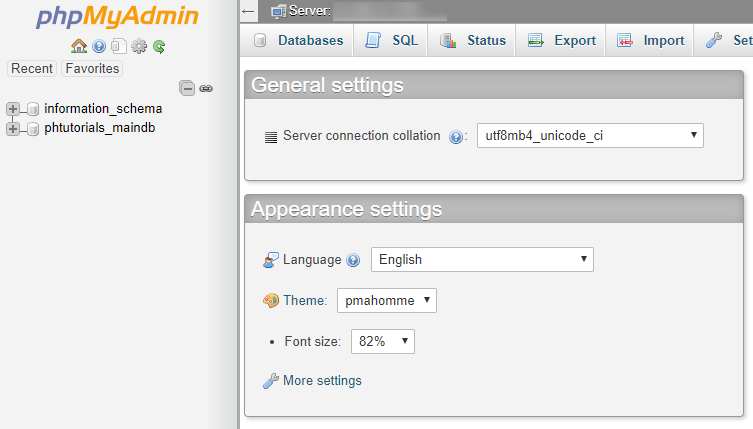
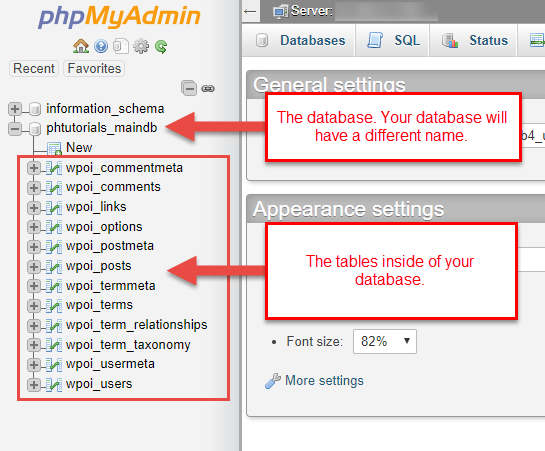
A new browser tab will open with phpMyAdmin. Inside of phpMyAdmin is where your website’s database and database tables will be accessible. If you have multiple Addon and Subdomains in your account, you will see those databases listed in phpMyAdmin as well.

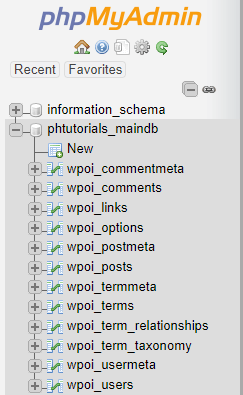
Here’s what a database may look like. In this example, this is the database of a WordPress site (a very popular CMS).

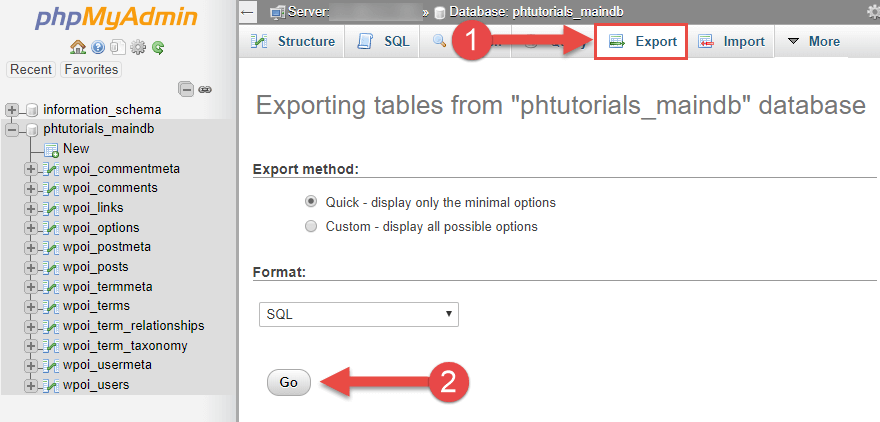
When you’re ready to backup your database, you’ll need to use the Export feature inside of phpMyAdmin. Click your database name in the left sidebar and click the Export button at the top of the page.
Once you click the Go button is clicked a window will appear on your computer asking you to choose the location on your computer where you would like to save the exported database.


After saving the database to your computer you have now completed the process of backing up your website’s database.
4. Using WordPress Plugins
WordPress is a CMS used by millions worldwide. Without a doubt, it’s the most popular CMS and has thousands of contributing developers and marketplaces.
Here are a few backup plugins we recommend. Most have features to save locally onto your server (hosting account), remote third-party sources (AWS, Dropbox, Box, etc.), FTP, and to save the backup files locally to your computer.


