
Often overlooked, Bing offers site owners a Webmaster Tools dashboard very similar to Google’s Search Console (formerly Google Webmaster Tools). In this article, we’re going to walk you through the steps on how to create your Bing Webmaster Tools account and add your site to the dashboard. This will help your site get indexed and discovered on Bing’s search engine.
Also, Bing is offering $100 in search advertising credits through their Bing Ads platform if you sign up to Webmaster Tools. Offer expires June 30, 2018 (at the time of this writing) and is valid for verified account holders. Additional terms and conditions are available on their site.
- Signing Up for Bing Webmaster Tools
- Add Your Website to Bing Webmaster Tools
- Verify Ownership
- Submit Your Website’s Sitemap
- Connect Your Social Accounts
1. Signing Up for Bing Webmaster Tools
Log into or sign up for Bing Webmaster Tools by going to https://www.bing.com/toolbox/webmaster/

Choose how to sign into Bing Webmaster Tools. We already have an Outlook account so we’ve used an existing @outlook.com account to sign into Webmaster Tools with. Choose your preferred method to continue the process.

2. Add Your Website to Bing Webmaster Tools
Click the ADD YOUR SITE button in the middle of the page.

Next, enter the required details about your website and click the Add button. Don’t worry if you don’t have your website’s sitemap URL at this point. You can add your website’s sitemap URL once you’ve successfully added and verified your website in Bing Webmaster Tools.

3. Verify Ownership
In this step you will be required to verify that you are the owner of the website that you’re adding into Bing Webmaster Tools. You have three options to verify your ownership. The easiest is to download the BingSiteAuth.xml file and upload it to your site’s root directory via FTP or File Manager.
However, you also have options to copy and past a meta tag before the ending tag of your site or add a CNAME record to your domain’s DNS.
After adding the .xml file to your root directory, adding the meta tag in the head section of your site, or creating a CNAME record you’ll want to click the Verify button at the bottom of the page.

If you have properly verified your domain with any of the three options you will be redirected to the main Dashboard page with your site’s activity overview. You won’t see anything here since you’ve just added your site, but it does mean that you have correctly verified your website in Bing Webmaster Tools.
You can also check to make sure that your website is verified by navigating to Configure My Site > Verify Ownership in the left side navigation menu. You should see the following message on the Verify Ownership page:

4. Submit Your Website’s Sitemap
If you did not submit your website’s sitemap when you first added your site to Bing Webmaster Tools you can do so now by navigating to Configure My Site > Sitemaps in the left side navigation menu. A new page will appear allowing you to submit the URL to your website’s sitemap.
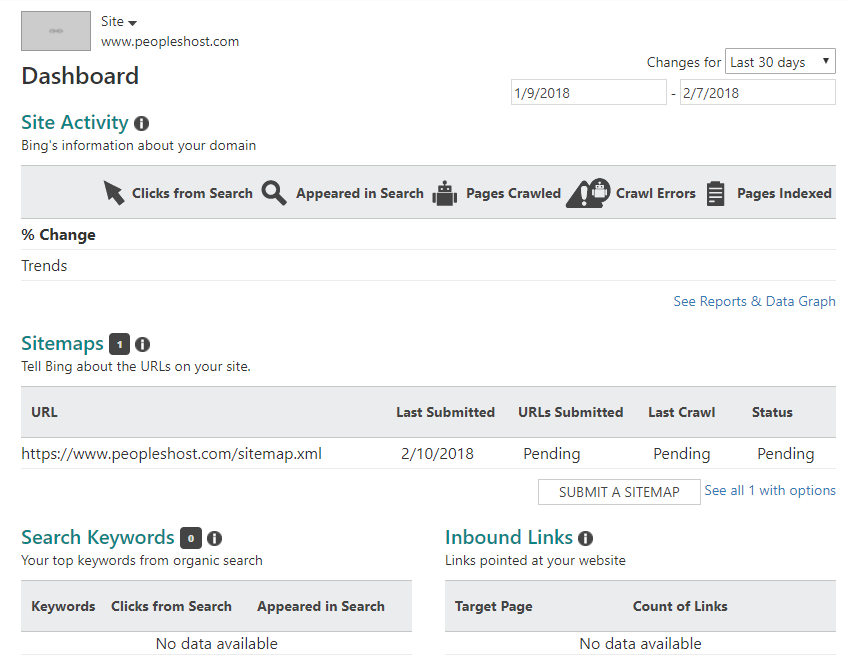
After you have submitted your website’s sitemap, you will see it listed below with Pending for URLs Submitted, Last Crawl, Status.

5. Connect Your Social Accounts
Connecting your pages will allow you to connect your social channels to your website in Bing Webmaster Tools. Adding your various web presences, Connected Pages, will allow you to gain more insight into how many impressions and clicks you’re getting on your main website, but also each of the Connected Pages from Bing/Yahoo! search results.
Select your Connected Page Type from the drop down menu, add your URL, and click the Verify button. The below example shows you how to add Facebook to the Connected Pages inside the Webmaster Tools dashboard.

Now that you’ve successfully set up the basic essentials inside of your Bing Webmaster Tools account, you’ll want to explore the dashboard for additional reports, data, and tools. A lot of information is available that may provide recommendations to help you achieve better organic rankings.