
Magento 2, formerly Magento Community Edition and now referred to as Magento Open Source, was released on November 17, 2015 and remains a popular eCommerce solution for many online businesses. The current stable release, at the time of this writing, is v2.2.3 added on February 27, 2018. To download the latest version of Magento Open Source you will want to visit this page.
If you would like to make sure your server or hosting environment meets the requirements for Magento, you’ll want to review the Magento 2.2.x technology stack requirements page.
- Location of Magento Configuration File
- Download Latest Version of Magento Open Source
- Upload Magento Package to Server
- Magento Installation – Setup Wizard
- [FIX] 500 Error Message
1. Location of Magento Configuration File
Among the many changes and improvements with Magento 2, the configuration file was also renamed. Below shows the old and new location from versions 1.x.x to versions 2.x.x for the configuration file.
Old Location: /app/etc/local.xml
New Location: /app/etc/env.php
The Magento configuration file is located in the same directory, but has been renamed to env.php. When the Magento configuration file env.php is opened, it will look like the following:
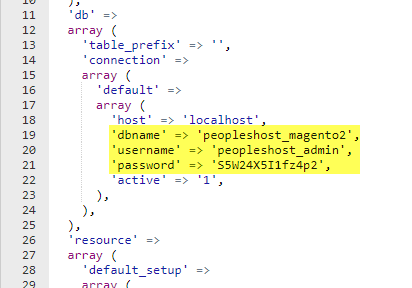
After you’ve located the env.php file, you’ll want to update the dbname, username, and password connection strings with your database information. Once updated with the correct information, save the changes you made to the env.php file.
2. Download Latest Version of Magento Open Source
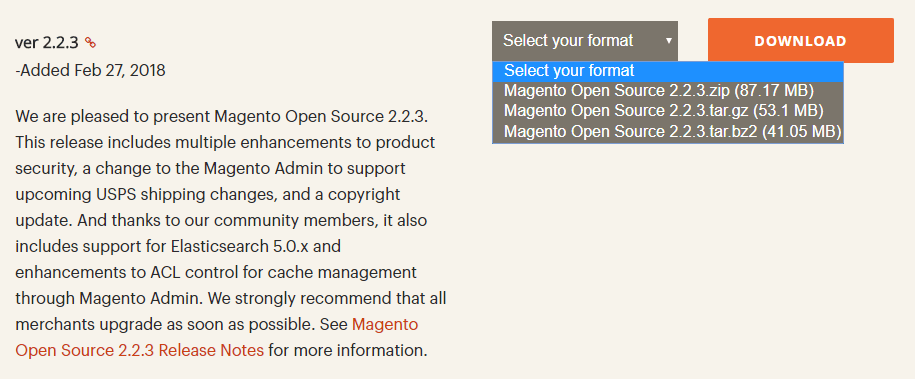
To download the latest version of Magento Open Source 2.x please navigate to the Magento Tech Resources page via https://magento.com/tech-resources/download, which lists the latest version as well as older versions of Magento for download.
Select the format you wish to download the package as and save it locally to your computer.
After you have completed the download of the latest version of Magento, you will want to access your hosting account using the File Manager inside of cPanel or by connecting through a FTP (File Transfer Protocol) client.
3. Upload Magento Package to Server
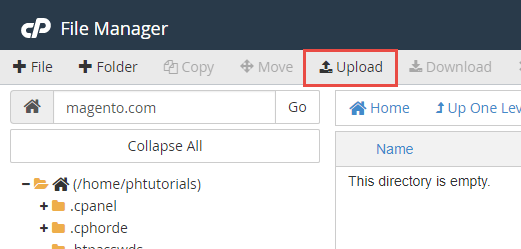
In this example, we’re going to use the File Manager inside of cPanel to upload the .zip package we downloaded in the previous step. Locate the FILES heading and click the File Manager icon. This will open a new window and take you into File Manager.

Make sure you’re in the root directory for your site and click the upload button. On the next page click the Select File button and select the .zip package you saved to your computer in the previous step. This will begin the upload process; uploading the Magento package inside of File Manager so you can extract the files.
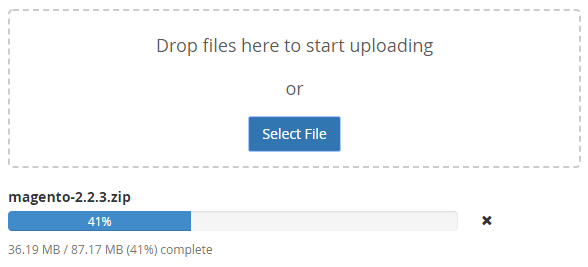
After successfully uploading the Magento package, click the Go Back link to be taken to the File Manager page where you’ll see the package sitting in the root directory.
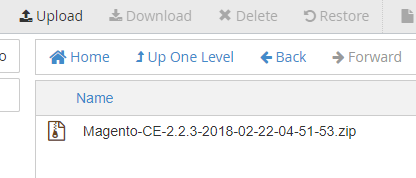
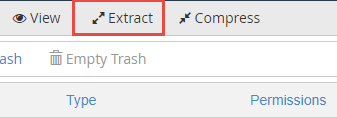
Now you’ll select the file (click it once) and it will be highlighted inside of File Manager. Click the Extract button to extract the files of this package. A popup will appear, click the Extract File(s) button.
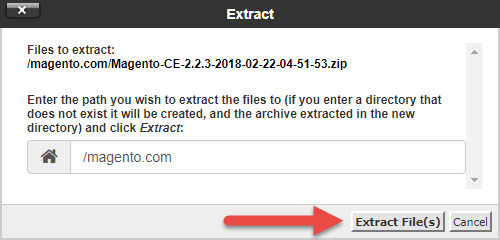
Now that you’ve successfully extracted the Magento files you can proceed by going through the setup wizard.
4. Magento Installation – Setup Wizard
To begin the installation process and access the Magento 2 setup wizard, open a browser and type your domain into the address bar. If you uploaded and extracted the files correctly you should see the following displayed in your browser window:
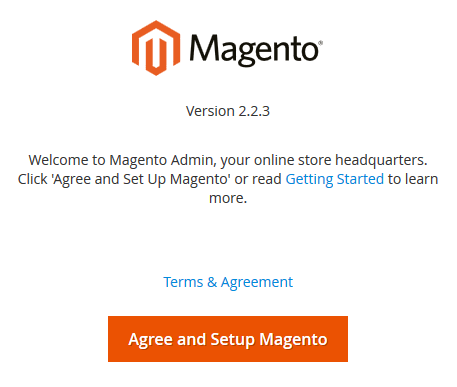
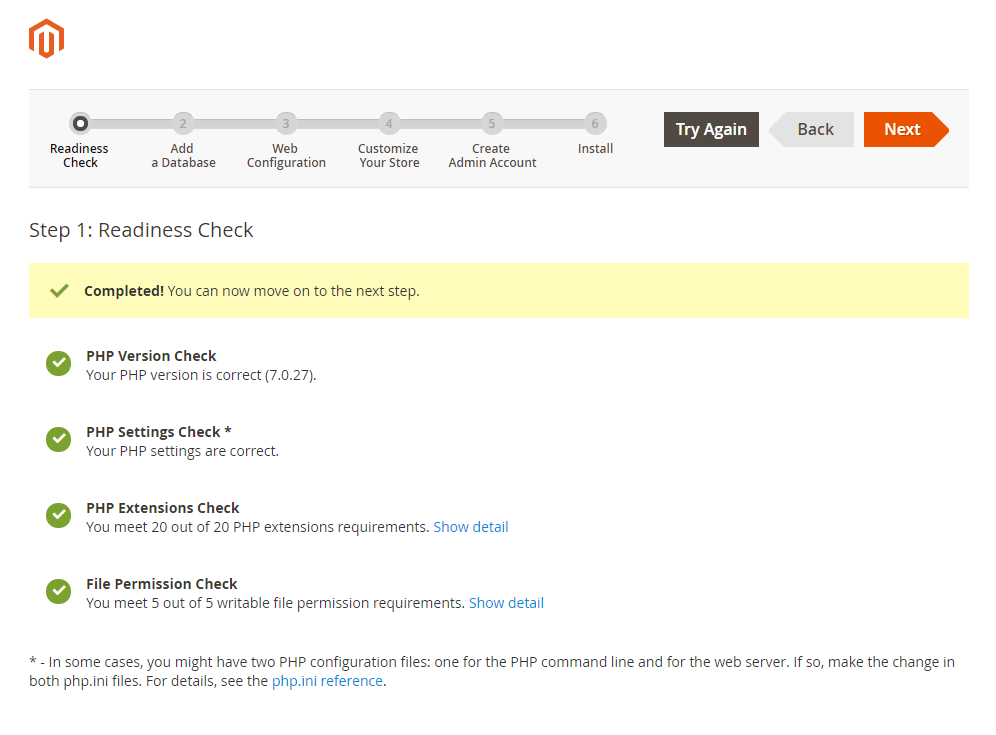
Click the Agree and Setup Magento button to proceed. This will take you to Step 1, the Readiness Check. This will ensure your hosting environment meets all of the requirements to run the latest version of Magento. When you see green checkmarks across the board you will be able to proceed to the next step.
On Step 2 you will add your database information. If you have not created your database or database user, you will need to access cPanel and locate the DATABASE heading and click the MySQL Database icon. This will take you to a page where you will create your database, create your database user, and add your database user and assign privileges to the database.
Enter your database information into Step 2 and click the next button.

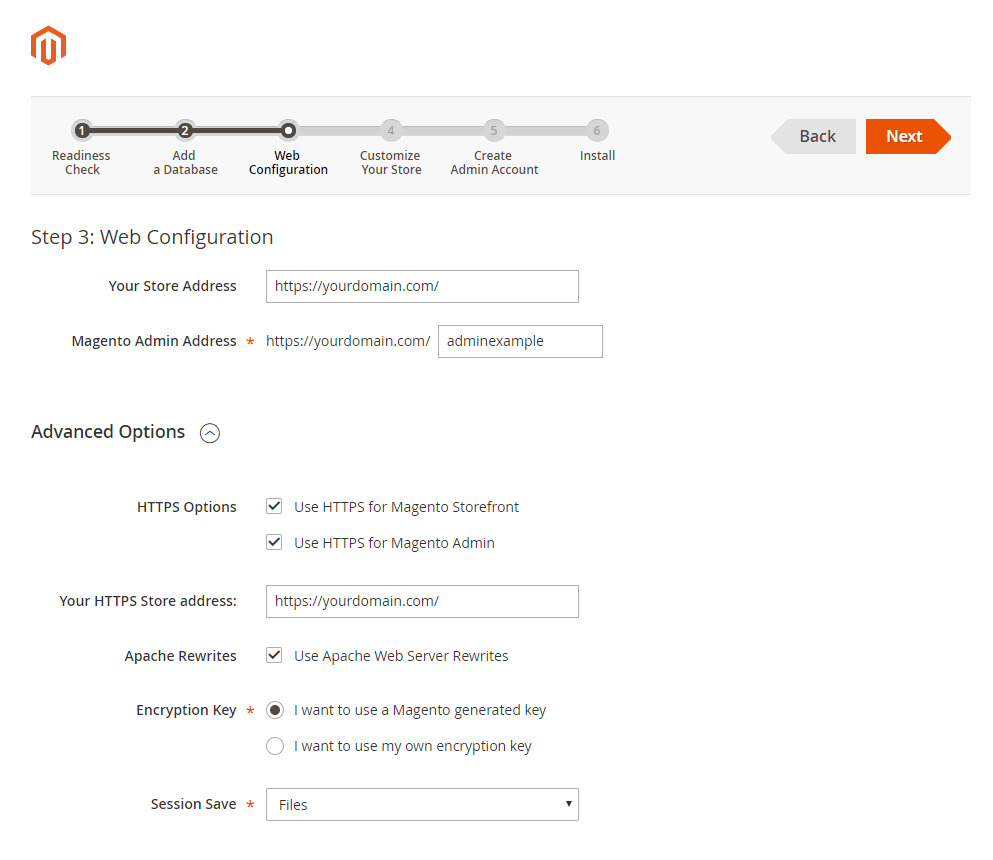
On Step 3 you will enter the details for your site. This includes your store address (URL people will access your site at), setting your Admin Address (log into your Magento Dashboard), and other advanced options. If you do not have an SSL Certificate, you will not want to use HTTPS. This will cause warnings to display in your browser for not being secure.
On Step 4 you will choose your default time zone, currency and language.

On Step 5 you will choose your Admin username, password, and enter your email address. This is the information you will use to log into your Magento dashboard via the Admin Address you defined in Step 3.

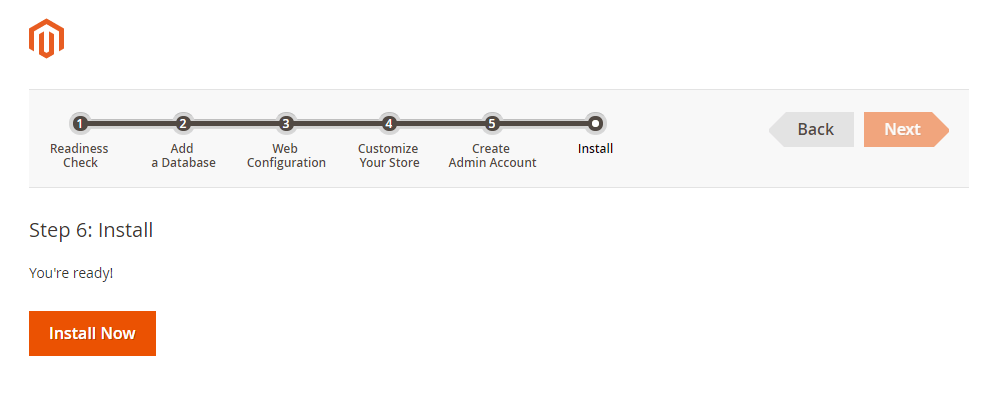
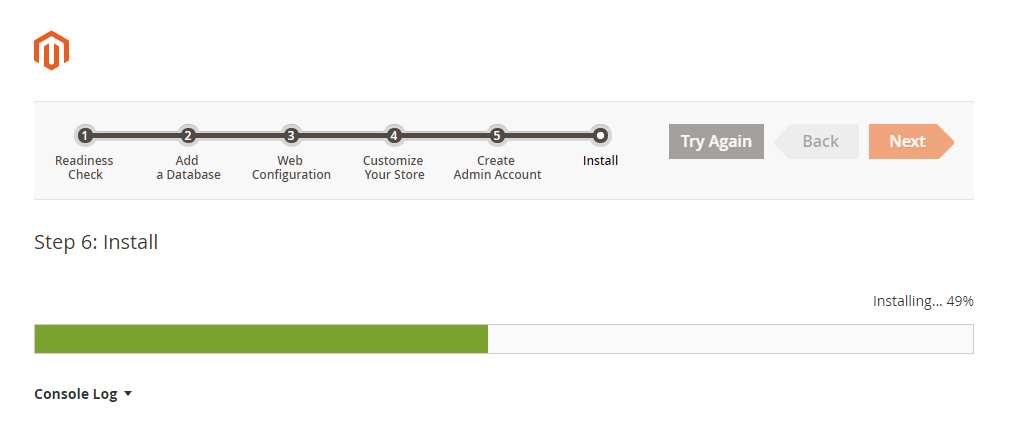
On Step 6 you will click the orange Install Now button. This will initiate the installation process. You will see a green progress bar load on the page.
When the Magento installation completes, you will be taken to a Success page displaying all of the information you entered in the previous steps.
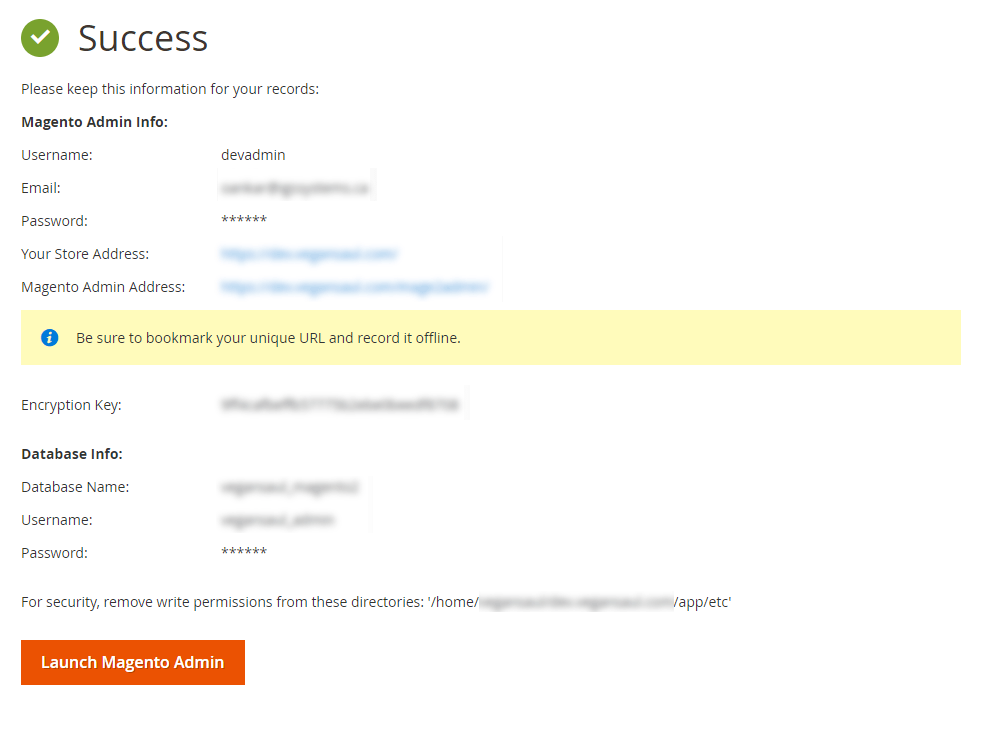
Click the orange Launch Magento Admin button to log into the Magento Admin Dashboard and get started building your eCommerce store.
5. [FIX] 500 Error Message
If you’ve installed Magento 2.x.x and receive a 500 error when you try to access your domain you’ll want to follow these instructions. Checking your local error log may reveal the following error message:
‘IfVersion’, perhaps misspelled or defined by a module not included in the server configuration
If you see this error message, you will need to enable mod_version on your server. If you’re on a shared hosting account you will need to put in a request to your host. However, if you have access to WHM you can follow the instructions below to enable mod_version on your server.
Log into WHM and search for EasyApache4 in the top left search box and click the link under the Software heading.

Click the Customize button in the Currently Installed Packages section. Please be patient after clicking the Customize button. It may take a while for the packages to load.

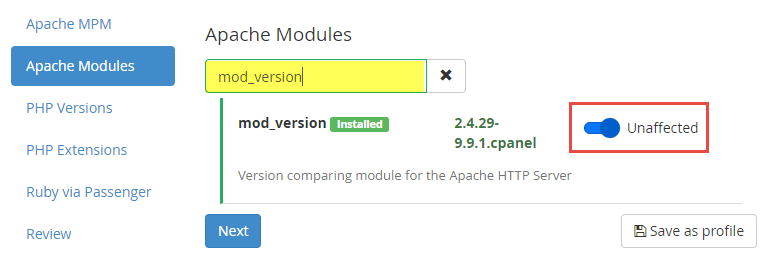
Click the Apache Modules tab and search for mod_version. In the image below, mod_version is already installed. If mod_version is not installed already, enable by clicking the button (turns blue) and clicking the Next button until you get to the Review page.
Click the blue Provision button.

After provisioning has completed you can now access your site and the 500 error should no longer display or generate in the error log allowing you to go through the Magento installation wizard.


