
Google Search Console, formerly known as Webmaster Tools, is a dashboard that provides webmasters a substantial amount of insight with tools and reporting. Search Console is a tool that every person should utilize to help identify and discover problems that may be affecting your efforts to improve your site’s organic search result rankings.
- Create Google Search Console Account
- Add a Property to Google Search Console
- Verify Ownership of Your Domain
- Submitting Your Sitemap
- Limiting the Google Crawl Rate
1. Create Google Search Console Account
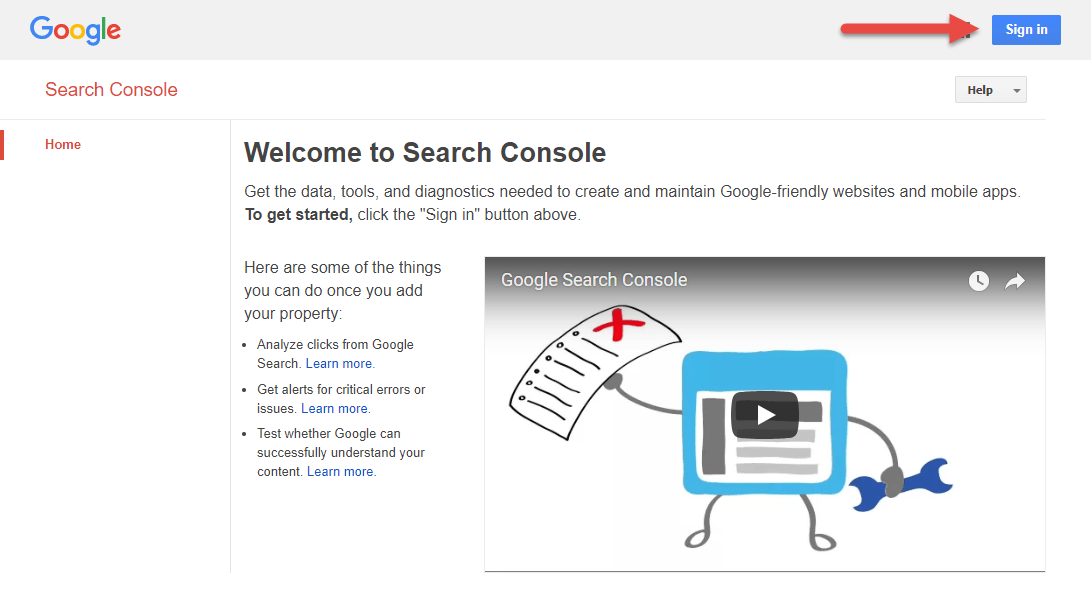
Log into an existing Google account to sign into Google Search Console by going to https://www.google.com/webmasters/tools/home.
2. Add a Property to Google Search Console
After logging in, you will be taken to the Google Search Console dashboard where you’ll see an area to Add a Property. This is where you’ll add your website to your Search Console account.

Best practice is to add every variation of your domain to Google Search Console. For example, if your domain is domain.com you would want to add the following properties to your account:
- http://domain.com
- http://www.domain.com
- https://domain.com
- https://www.domain.com
After entering your first property and clicking the Add a Property button, you will be taken to the verification page.
3. Verify Ownership of Your Domain
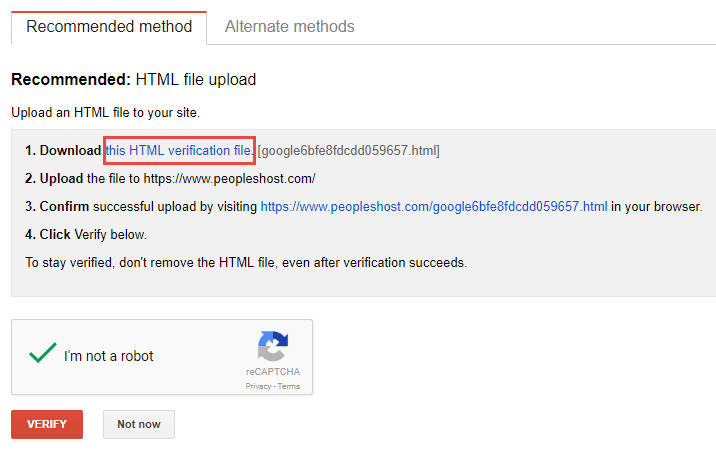
By default, the Recommend method tab will be displayed giving you an HTML verification file you can upload to your public_html (or root directory). Alternatively, you can also use these methods if you desire:
- HTML Tag – Add a meta tag to your site’s home page
- Domain name provider – Sign in to your domain name provider
- Google Analytics – Use your Google Analytics account
- Google Tag Manager – Use your Google Tag Manager account
The most popular method is uploading an HTML file, but many also choose to use their Google Analytics account. If you choose to use the alternate method with Google Analytics, you need to already have your domain setup with Google Analytics.
In this walkthrough, we’re going to use the HTML file upload method.
Click the text this HTML verification file to download your verification file. Save this to a safe place on your computer since you will need to upload it to your site’s public_html (or root directory).
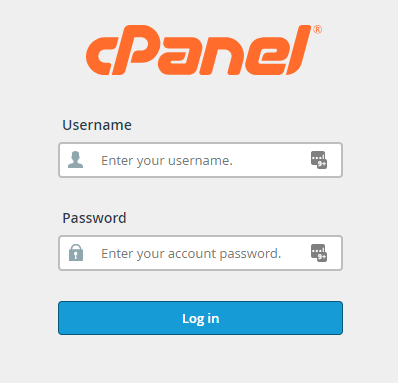
Log into your hosting account (e.g., cPanel), and locate your File Manager. You can also upload this verification file by connecting to your hosting account via FTP. We’ll continue this walkthrough by logging into cPanel and accessing the File Manager.
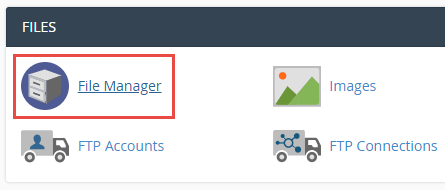
Locate the FILES heading and click the File Manager icon. A new window will open in your browser and you may be taken to the home directory or inside of your public_html. If you are taken to your home directory, make sure to double click
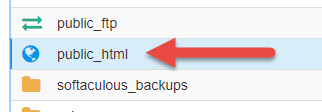
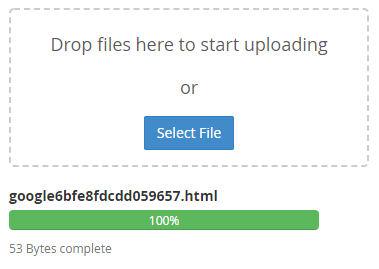
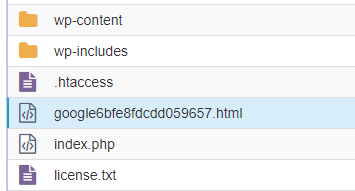
Click the Upload button. A new tab will open in your browser. In the new browser tab, click Select File and locate the HTML verification file you saved in the previous step. Once you have selected the file and uploaded it successfully, you will see it sitting in your public_html (root directory) as shown below:
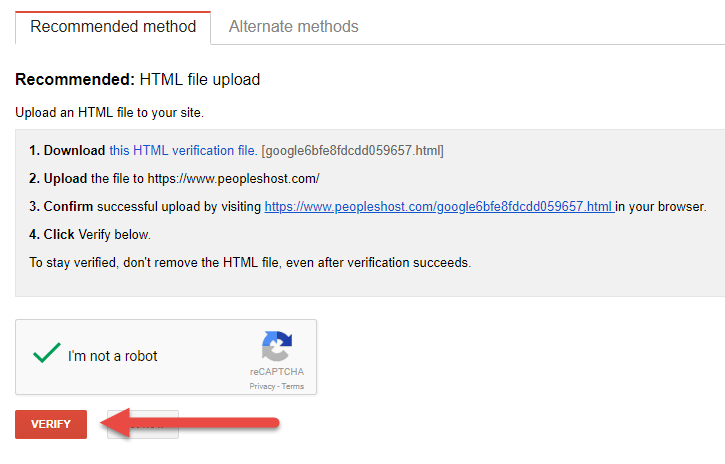
Next, go back to your Google Search Console account and check the reCAPTCHA box and the red Verify button. If you uploaded the HTML Verification file into the correct location of your hosting account, your domain will now be verified in the Google Search Console dashboard.
If your domain was verified properly, you will see it listed without the Not verified badge. However, if the domain was not verified properly, you will see the grey Not verified badge next to the property (your domain) as shown in the image below:

4. Submitting Your Sitemap
Now that you’ve successfully added a property to your Google Search Console, you’ll want to submit your sitemap so Google knows which pages on your site should be crawled and indexed.
To submit your sitemap inside of Search Console, navigate to your property and expand the Crawl navigation menu item on the left side of the page. Click the Sitemaps link in the expanded menu.
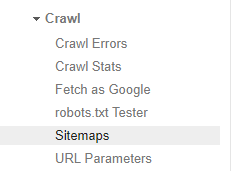
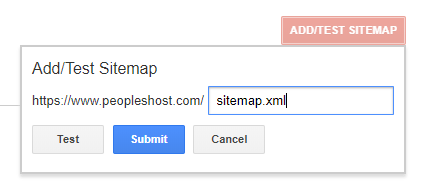
On the next page, click the red Add/Test Sitemap button and enter the URL to your sitemap. For example, PeoplesHost’s sitemap URL is https://www.peopleshost.com/sitemap.xml so we would enter in sitemap.xml into the box. You can click the Test before submitting your sitemap to Google.
It may take a few hours up to a day before you start seeing data populate in your Sitemap details section of the Search Console. Here, you’ll see crawl errors and warnings that are found when Google crawls your site.
5. Limiting the Google Crawl Rate
Don’t forget to limit the crawl rate on your properties. If you’re running a server (e.g., VPS or Dedicated server) with multiple sites verified in your Search Console, it’s very wise to limit the crawl rate with a maximum crawl rate value. This will prevent Google bots from causing issues, such as slowing down your server, by hitting all of your sites at once.
To limit the crawl rate, go into your property and click the Settings wheel located at the top right of the page and the Site Settings link in the drop down menu.
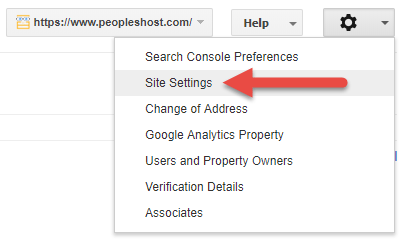
On the next page, check the radio bubble for Limit Google’s maximum crawl rate and you will see a slider appear. Adjust the slider accordingly to your preference and click the Save button. Your Crawl rate might look something like the following:

Now you can begin to explore the powerful tools and reporting Search Console has to offer. There are many other features that weren’t covered in this walk through that you’ll want to check out, including the new Search Console dashboard that’s currently in Beta.


