WordPress has a built in feature called Multisite. The Multisite feature is disabled by default. However, we will walk you through the steps on how to enable WordPress Multisite so you can easily manage a network of sites or create new sites using Multisite using one WordPress installation.
- What is WordPress Multisite?
- Benefits of WordPress Multisite
- How to Install WordPress
- Enable Multisite in Your wp-config.php
- Subdomains or Sub-Directories
- Create a Wildcard Subdomain (Sub-Domain Option)
- Enable Pretty Permalinks (Sub-Directory Option)
- Network Setup Installer
- Configure Network Admin Settings
- Add a New Site to Your Multisite
1. What is WordPress Multisite?
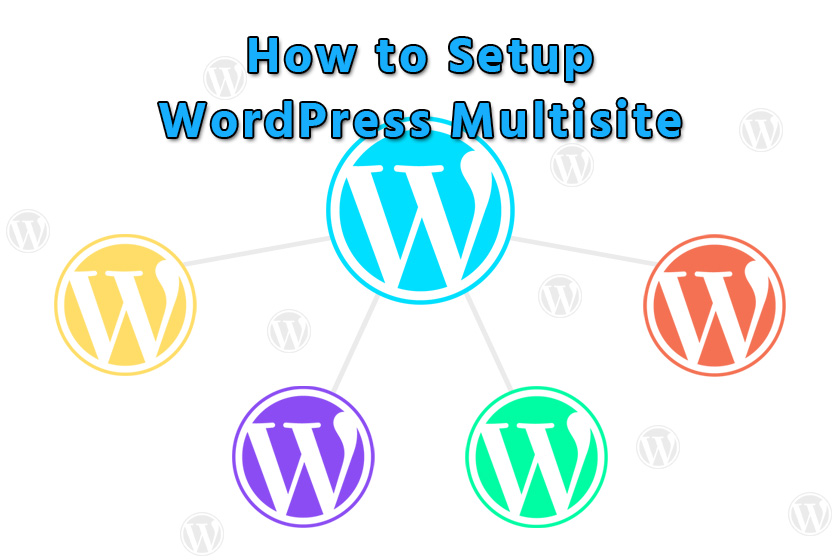
WordPress Multisite allows you the ability to create a network of sites sharing the same WordPress installation.
The individual sites in the network are virtual sites in the sense that they do not have their own directories on your server, although they do have separate directories for media uploads within the shared installation, and they do have separate tables in the database.
2. Benefits of WordPress Multisite
You can easily manage multiple WordPress sites as the Administrator using a single dashboard. If you’re limited on disk space through the hosting plan you’re using, this will help save you quite a bit of disk space usage if you have a lot of WordPress sites.
Using the Multisite feature will also allow you to create WordPress sites for other people and allow them to manage their own WordPress sites from their own WordPress dashboard. As the Administrator, you would still have the ability to install plugins and themes for multiple sites through a single download.
There’s a lot to consider when researching your options, keep in mind that there are many great alternatives that will allow you to [more] easily manage multiple WordPress sites aside from using the WordPress Multisite functionality.
If you’re seeking a multiple WordPress site management solution, PeoplesHost typically recommends MainWP, a plugin that will allow you to connect Child sites (other WordPress sites of yours with WordPress already installed) to a single Dashboard for easier access to and management of those sites.
3. How to Install WordPress
To set up WordPress Multisite you’ll first need to make sure to have WordPress installed. This article will assume that you have WordPress installed and can access your WordPress Dashboard. If you need to install WordPress you can do so manually or by using Softaculous through cPanel.
4. Enable Multisite in Your wp-config.php
You’ll also be required to add a line of code to your wp-config.php.
/* Enable WordPress Multisite */
define( 'WP_ALLOW_MULTISITE', true );
After you’ve enabled WordPress Multisite inside of your wp-config.php you’ll now see a new option for Network Setup under the Tools heading in your WordPress Dashboard side navigation bar.

The following code will enable the Multisite feature for your WordPress site. Now that the Multisite feature is enabled there are other things to setup and configure for Multisite to function properly.
5. Subdomains or Sub-Directories
On the Network Setup page, you’ll be asked to choose between Sub-domains and Sub-directories. Make sure you choose the option that best fits what you’re looking for. You DO NOT want to change this down the road when you already have sites created through the Multisite setup.
Choosing Subdomains
If you choose the subdomain option, sites will be created through your Multisite setup on subdomains such as:
- site1.yourdomain.com
- site2.yourdomain.com
Choosing Sub-Directories
If you choose the sub-directory option, sites will be created through your Multisite setup on sub-directories such as:
- yourdomain.com/site1
- yourdomain.com/site2
6. Create a Wildcard Subdomain (Sub-Domain Option)
If you choose the subdomain option from the step above, you’ll also need to remember to add a wildcard subdomain for the Multisite feature to work properly. To add a Wildcard subdomain you’ll need to access your control panel (cPanel) to accomplish this and follow the instructions below.
After logging into cPanel, you’ll want to search for the DOMAINS heading. Under that section, you’ll see an icon for Subdomains.
On the next page you’ll create your Wildcard Subdomain.
- Subdomain: Enter an asterisk * in this box
- Domain: Select the domain you’re using for your multisite setup
- Document Root: This field will auto-populate after you put in the * in the Subdomain box

Click the Create button to create your Wildcard Subdomain! You should see something similar to this:

7. Enable Pretty Permalinks (Sub-Directory Option)
By choosing the sub-directories option you’ll need to enable pretty permalinks in your WordPress installation; often referred to as SEO friendly URLs. You’ll need to navigate to the Permalinks area under the Settings heading in your WordPress Dashboard side navigation bar.

By default, WordPress is set to Plain, which would create URLs on your sites that would look something like:
- https://yourdomain.com/?p=123
We prefer the Post name option, however, you can choose Day and name, Month and name, or a custom structure to your liking. If you chose the Post name option, your URLs will look something like:
- https://yourdomain.com/hello-world/

And make sure to Save Changes after you’ve selected the permalink structure you wish to proceed with.
8. Network Setup Installer
Now that you’ve selected either subdomains or subdirectories, you’ll enter the Network Title and Network Admin Email. You can now click the Install button on the Network Setup page.
Note: The installer may perform a check for wildcard subdomains when you have not configured them yet, or when you do not need them at all. Ignore the warning if it does not apply to your network.
On the next page you will be instructed to complete two more steps to enable the Multisite features that allow you to create a network of sites. These two steps require you to make changes to your wp-config.php and .htaccess files. Prior to making any changes, we STRONGLY RECOMMEND that you backup or make copies of these two files.
Add the following to your wp-config.php
Replace yourdomain.com with your domain name
define('MULTISITE', true);
define('SUBDOMAIN_INSTALL', true);
define('DOMAIN_CURRENT_SITE', 'yourdomain.com');
define('PATH_CURRENT_SITE', '/');
define('SITE_ID_CURRENT_SITE', 1);
define('BLOG_ID_CURRENT_SITE', 1);
Add the following to your .htaccess
Replace other WordPress rules (default WordPress .htaccess rules).
# BEGIN WordPress MultisiteRewriteEngine On RewriteBase / RewriteRule ^index\.php$ - [L] # add a trailing slash to /wp-admin RewriteRule ^wp-admin$ wp-admin/ [R=301,L] RewriteCond %{REQUEST_FILENAME} -f [OR] RewriteCond %{REQUEST_FILENAME} -d RewriteRule ^ - [L] RewriteRule ^(wp-(content|admin|includes).*) $1 [L] RewriteRule ^(.*\.php)$ $1 [L] RewriteRule . index.php [L] # END WordPress Multisite
After completing these steps, your WordPress Multisite network has been configured. You’ll need to log out and back in to your WordPress site for the changes to take effect.
9. Configure Network Admin Settings
Now that your Multisite network has been enabled you will have the ability to add sites to your network. You should see a My Sites link in the top navigation bar. This is where you’ll want to first configure your settings in the Network Admin > Settings area before adding any sites to your Multisite network.

When you’re ready to add your first site you’ll want to follow the instructions below.
10. Add a New Site to Your Multisite
To add a new site to your Multisite network, you’ll want to navigate to My Sites > Network Admin > My Sites.

Here is where you will see a list of your existing sites as well as the option to add a new site to your Multisite network. To add a new site, click the Add New button. You’ll be asked to fill out the following information:
- Site Address (URL)
- Site Title
- Site Language
- Admin Email
Note: The username and a link to set the password will be mailed to this email address.

Click the Add Site button when you have entered the required information. You’ll now see the newly created site in the Site dashboard overview:

Congratulations! Your Multisite Setup is Complete.
You can install and activate certain plugins and themes for sites in your Multisite network. To install plugins to all of the sites in your network, you would install a plugin as you normally would in a standalone WordPress site by navigating to the Plugins section of the dashboard. The only difference is that a newly installed plugin will now display Network Activate to activate the plugin.