nopCommerce is a widely used eCommerce shopping cart solution running on ASP.NET. It’s open-srouce, packed with features and has a vibrant community behind the project. On November 9, 2017 the latest version of nopCommerce 4.0 was released to the public boasting many performance enhancements and upgrades.
The biggest challenge and change with the nopCommerce 4.0 release was the move to ASP.NET Core 2.0, which PeoplesHost fully supports on our Windows hosting environments.
- Download nopCommerce 4.00 Install Package
- Upload nopCommerce 4.00 Files via FTP
- Create a MSSQL Database and Username
- Install nopCommerce 4.00 – Setup Wizard
- Log into the nopCommerce Admin Dashboard
- Order nopCommerce 4.00 Web Hosting
1. Download nopCommerce 4.00 Install Package
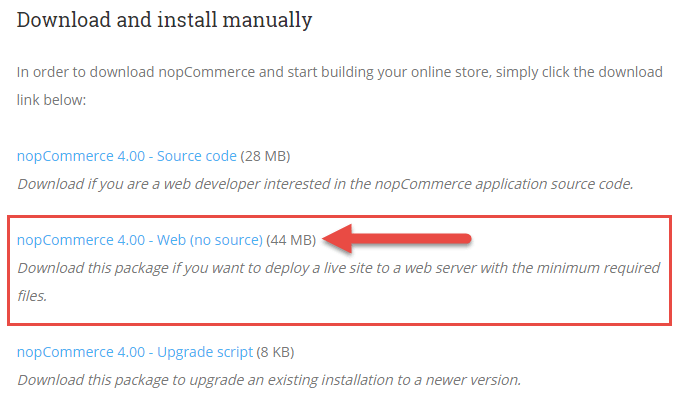
Download and save the nopCommerce 4.0 – Web (no source) installation package from the nopCommerce Downloads page via https://www.nopcommerce.com/downloads.aspx
In order to download the nopCommerce 4.0 installation package you will need to first create an account on the nopCommerce website. After creating your account and logging in, you will be able to download and save the installation package to your computer.
2. Upload nopCommerce 4.00 Files via FTP
Open the nopCommerce_4.00_NoSource.rar file on your computer and extract the contents of that .rar file into a folder on your computer. You’re going to upload the folders and files into your wwwroot directory using FTP (File Transfer Protocol).
After you’ve extracted the files from the .rar package, you’ll want to connect to your account using FTP. Your account’s FTP details were sent to you when you first signed up to PeoplesHost. You can retrieve those details by following these instructions to view your Welcome email in the email history section of your billing dashboard.
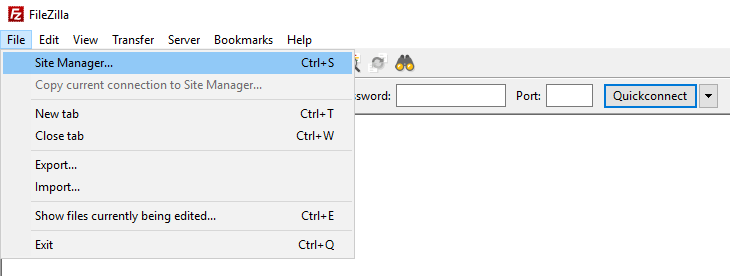
In this example, we’re going to use an FTP client called FileZilla. Open FileZilla and navigate to File > Site Manager. Click New Site and enter your domain so you can easily identify it in the future if you use FTP again.
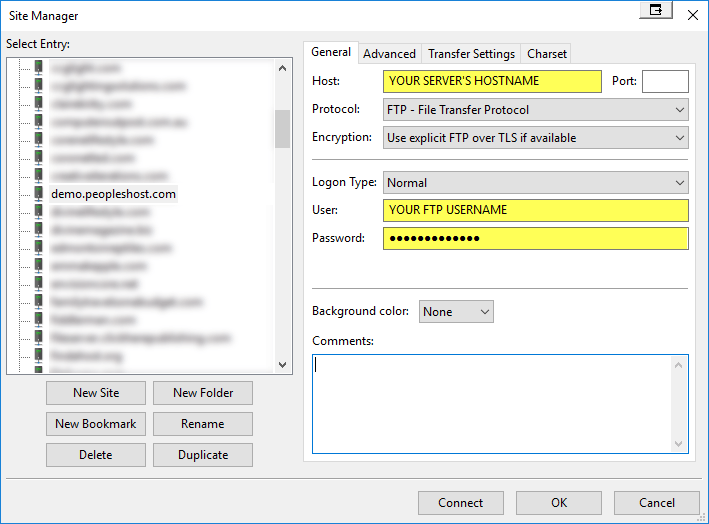
Input your FTP details in the General tab of FileZilla’s Site Manager for your account and click Connect. If you are unsure of your hostname, username or password you will need to reference the Welcome email you received when you first signed up.
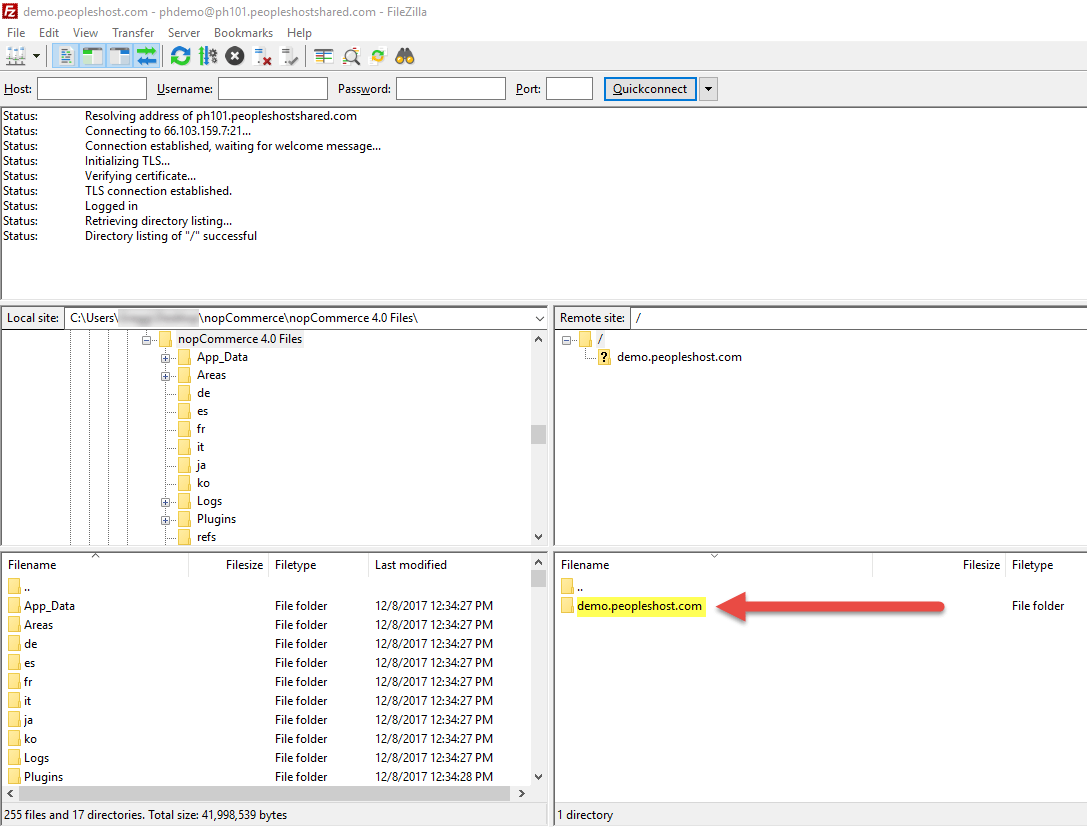
When you first connect to FTP, you will be taken to your home directory where you see your domain listed. Double click your domain’s directory so you locate the wwwroot directory and double click the wwwroot directory so you are taken into that directory.
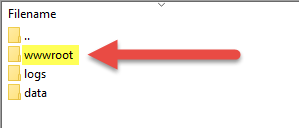
You may see nothing in the wwwroot. If you see a cgi-bin folder, default.aspx, or index file residing in the wwwroot you may go ahead and delete those.
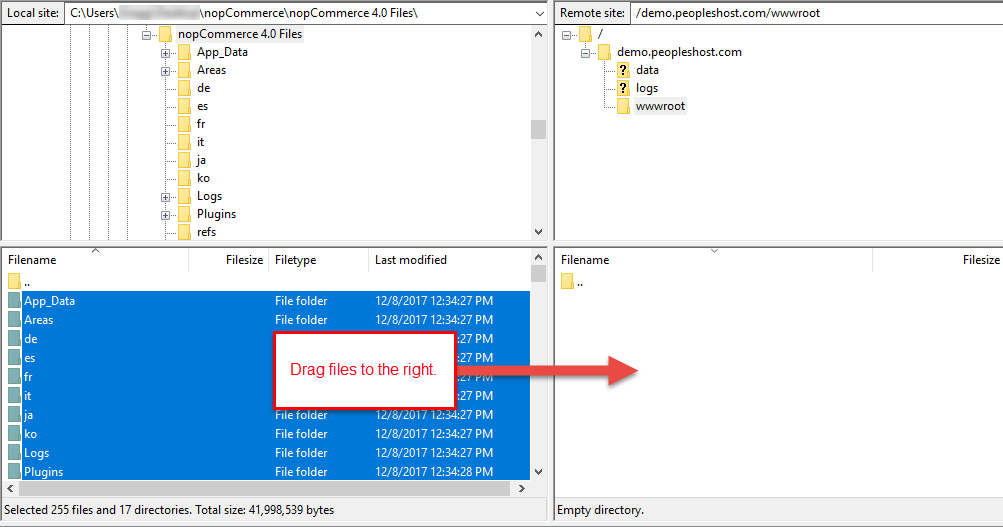
Locate the nopCommerce files you extracted earlier in the left window pane or open the folder on your computer where those files reside. Select ALL of the files and drag them into the right window pane in FileZilla. This will begin the upload process, which may take several minutes.
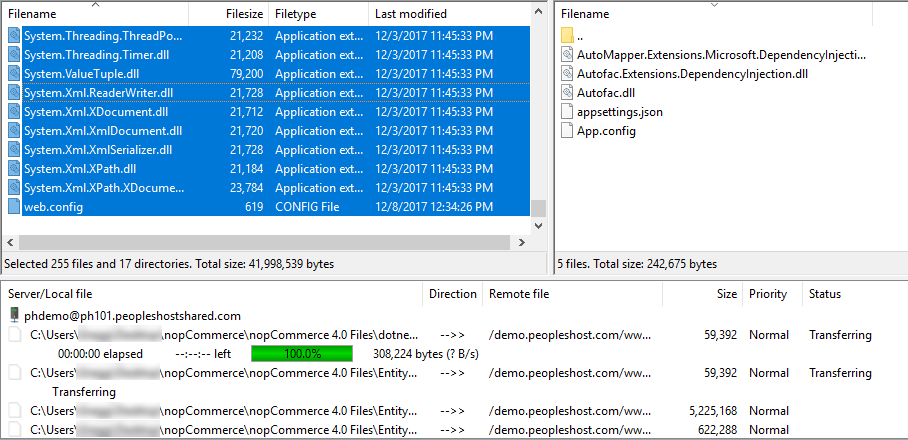
Your FTP client (FileZilla in this example), may look similar to the image below. This is showing the files that are currently being transferred into your account through FTP. You will need to wait until all of the files have completed uploading to the server.
You may receive a warning asking you to overwrite a file. Since you’re installing nopCommerce 4 from scratch, choose Overwrite, Always use this action, and Apply only to uploads.
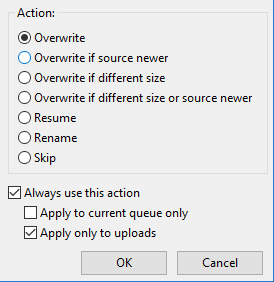
This will allow the upload process to continue.
3. Create a MSSQL Database and Username
Now that you have the nopCommerce 4.0 files uploaded and extracted on the server you’ll need to make sure you create a MSSQL database and database user for your nopCommerce site to connect to.
Navigate back to your control panel dashboard and locate the Databases icon. When you hover over the Databases icon, you’ll see a sub-menu appear to the right. Click the link for SQL Server 2012.
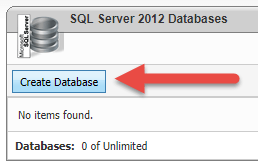
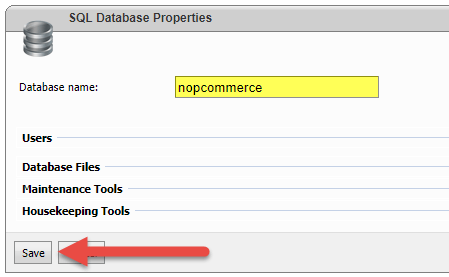
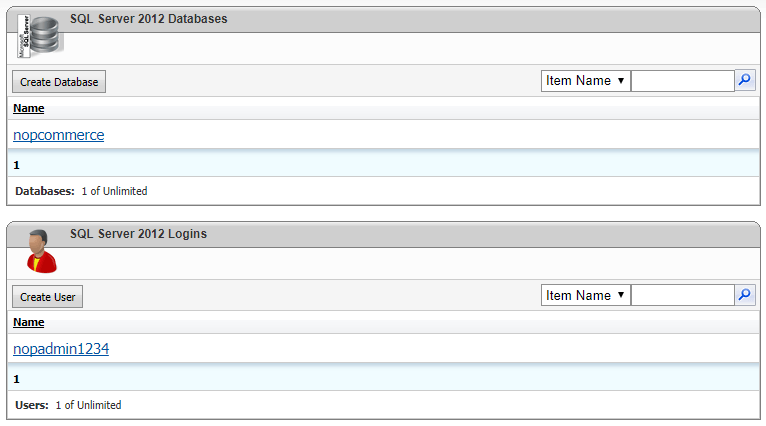
On the next page, click the Create Database button to create your database. Your database name can be anything you’d like. For this example, we’ve named our database nopcommerce. Click the Save button when you’ve chosen your database name.
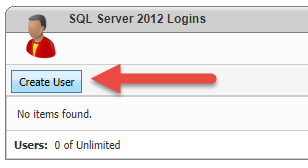
Next, create your database user. Click the Create User button. Enter your desired database user name and password for that database user. Save your password in a safe place since you’ll need that password in a later step during the nopCommerce 4.0 installation wizard.
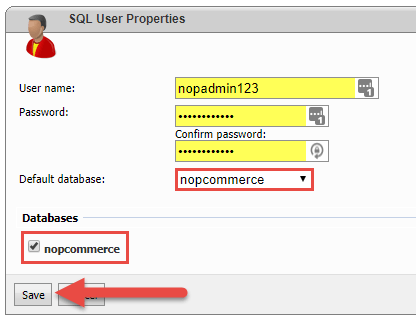
You successfully created your database, database user, and assigned that user to your database. Inside of your control panel you should see both the database and user you created as shown below:
4. Install nopCommerce 4.00
Now you can go through the nopCommerce installation wizard. Open a browser and navigate to your domain by typing the URL in the address bar. It may take a few moments to load since your application pool is being spun up for the first time.
You should be redirected to yourdomain.com/install and you’ll a page will display requesting additional Store Information and your Database Information to run through the installation process.
Enter the following Store Information. This will be used to log into your nopCommerce admin panel after nopCommerce 4.0 has been successfully installed.
Admin User Email: your email address
Admin User Password: your desired password
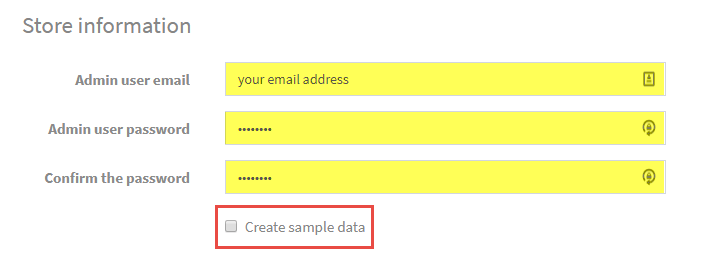
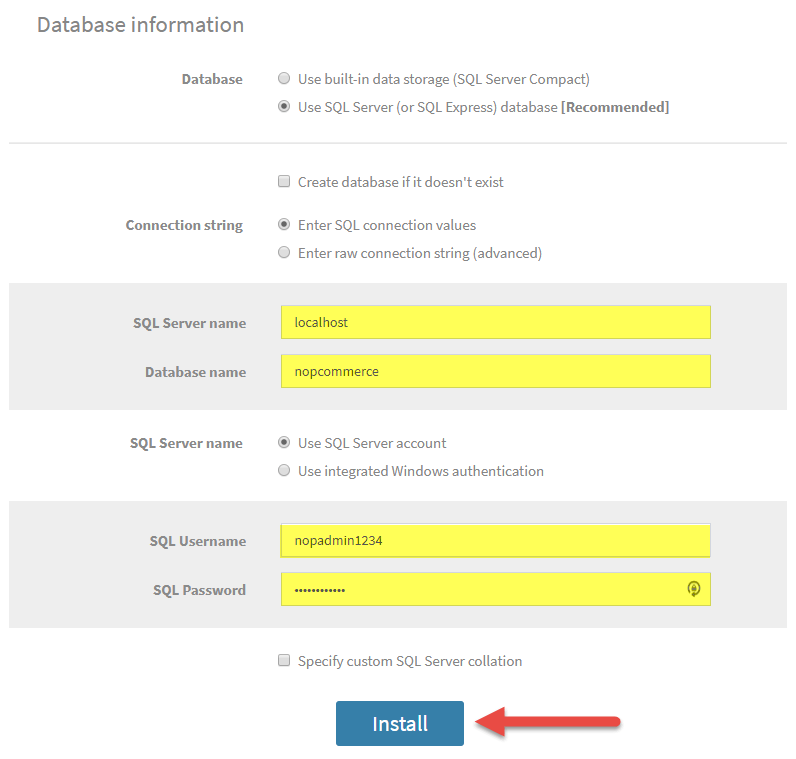
Next, you’ll enter your Database information. You’ll need to have the database name, database user, and database user password you created in the previous step.
Check Use SQL Server (or SQL Express) database [Recommended]
Check Enter SQL connection values
SQL Server Name: localhost
Database Name: your database name
SQL Username: your database user
SQL Password: your database user password
Click the Install button
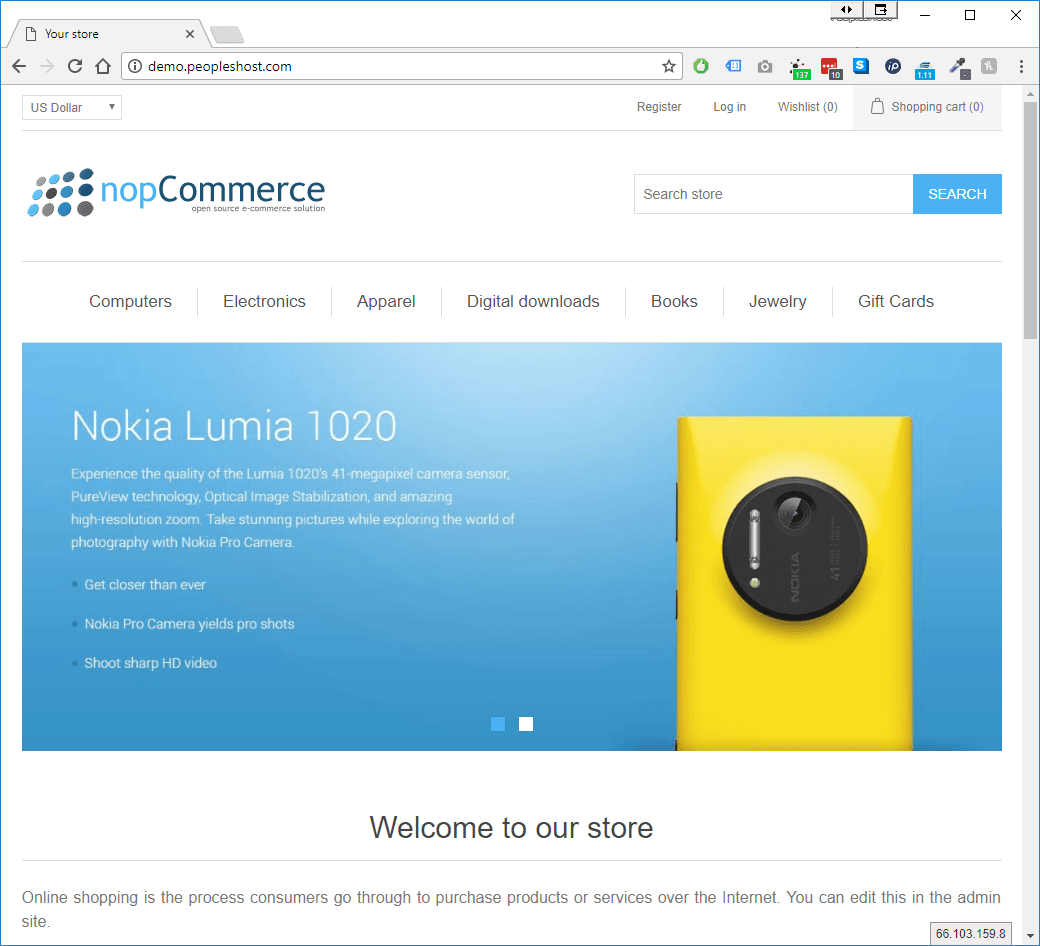
The installation progress bar will appear on the page. This make take a few minutes to run. Once completed, you will be taken to your site’s homepage. In our example, we chose to install the Sample Data and a demo site with dummy content is displayed on our homepage.

5. Log into the nopCommerce Admin Dashboard
To log into your nopCommerce 4.0 Admin Dashboard, you’ll want to click the Login link in the top navigation bar of your homepage. Otherwise, navigate to yourdomain.com/login. Use the Returning Customer box to enter your login credentials you created when you went through the installation wizard in the previous step.

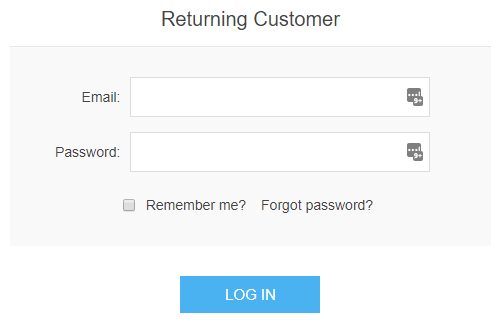
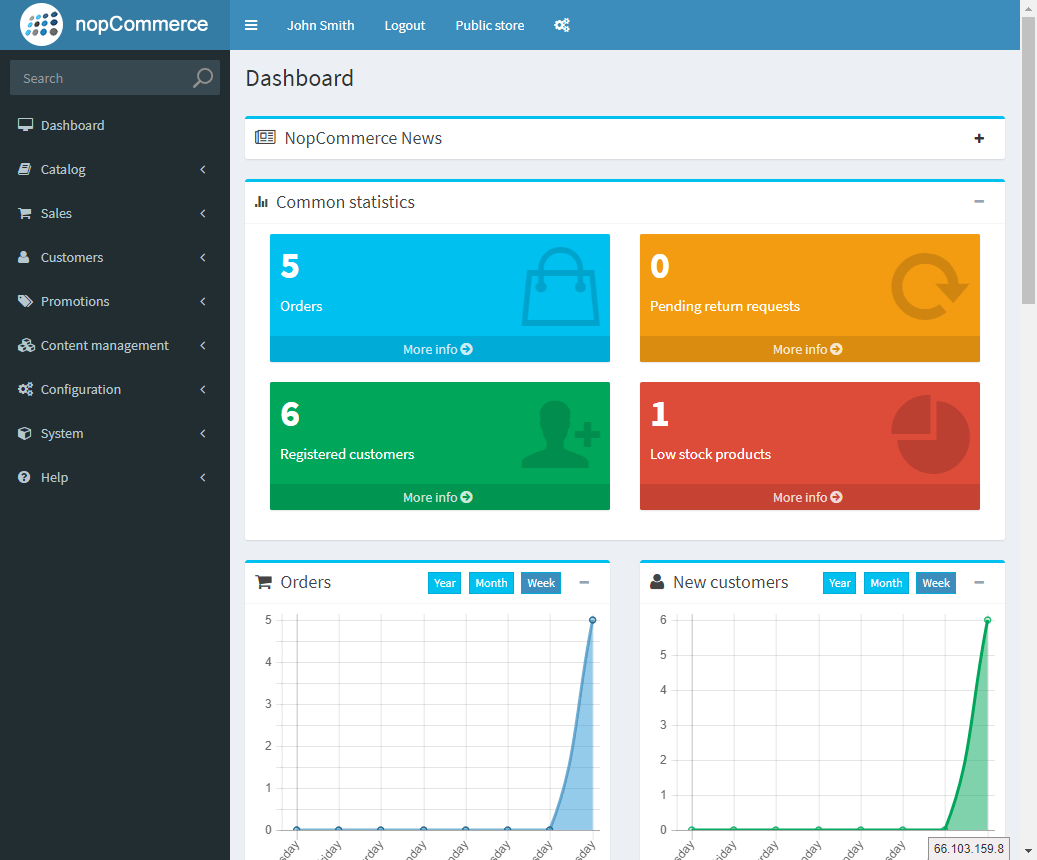
After you click the login button, you’ll be redirected back to the homepage. However, this time you’ll see a new Administration bar at the top of the page. Click the Administration link and you’ll be taken to the nopCommerce 4.0 Admin Dashboard.
6. Order nopCommerce 4.00 Web Hosting
PeoplesHost is proud to be a nopCommerce Silver Partner. Our Windows hosting environments are running ASP.NET Core 2.0 and support the latest version of nopCommerce 4.00.


